
Navigate to the WordPress Dashboard > WooCommerce > Checkout Fields
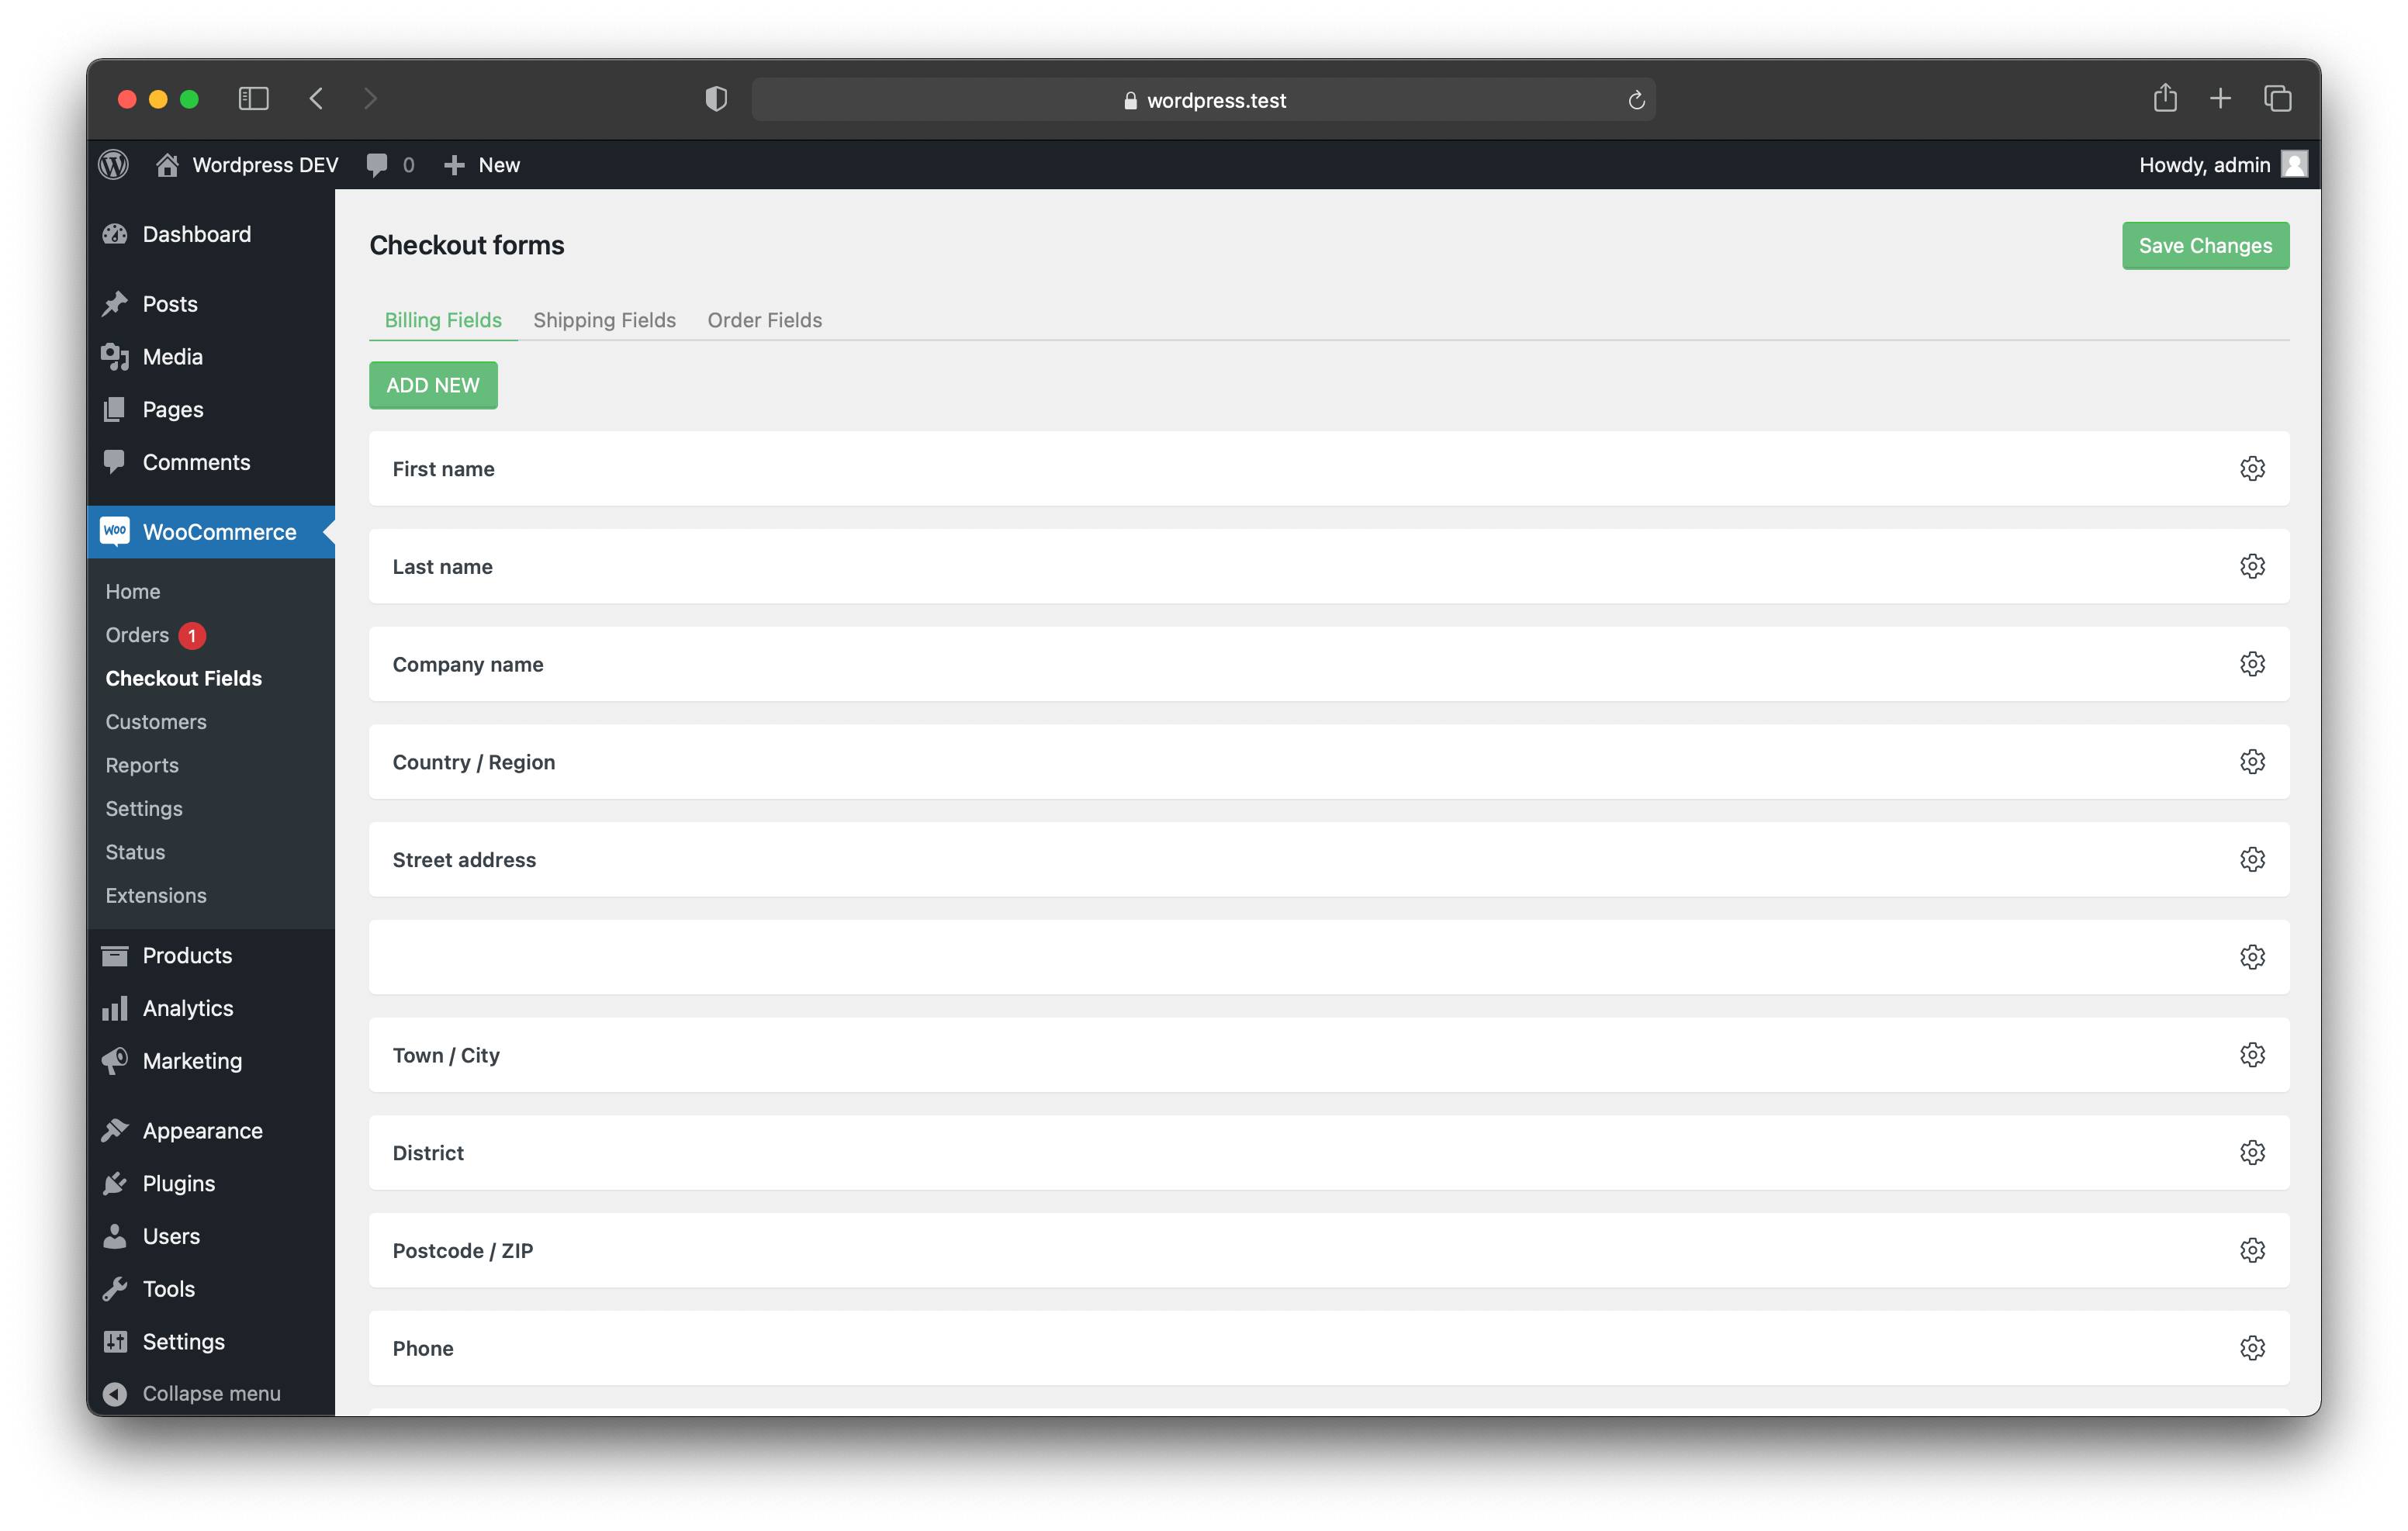
To create a custom field , click on ADD NEW button.
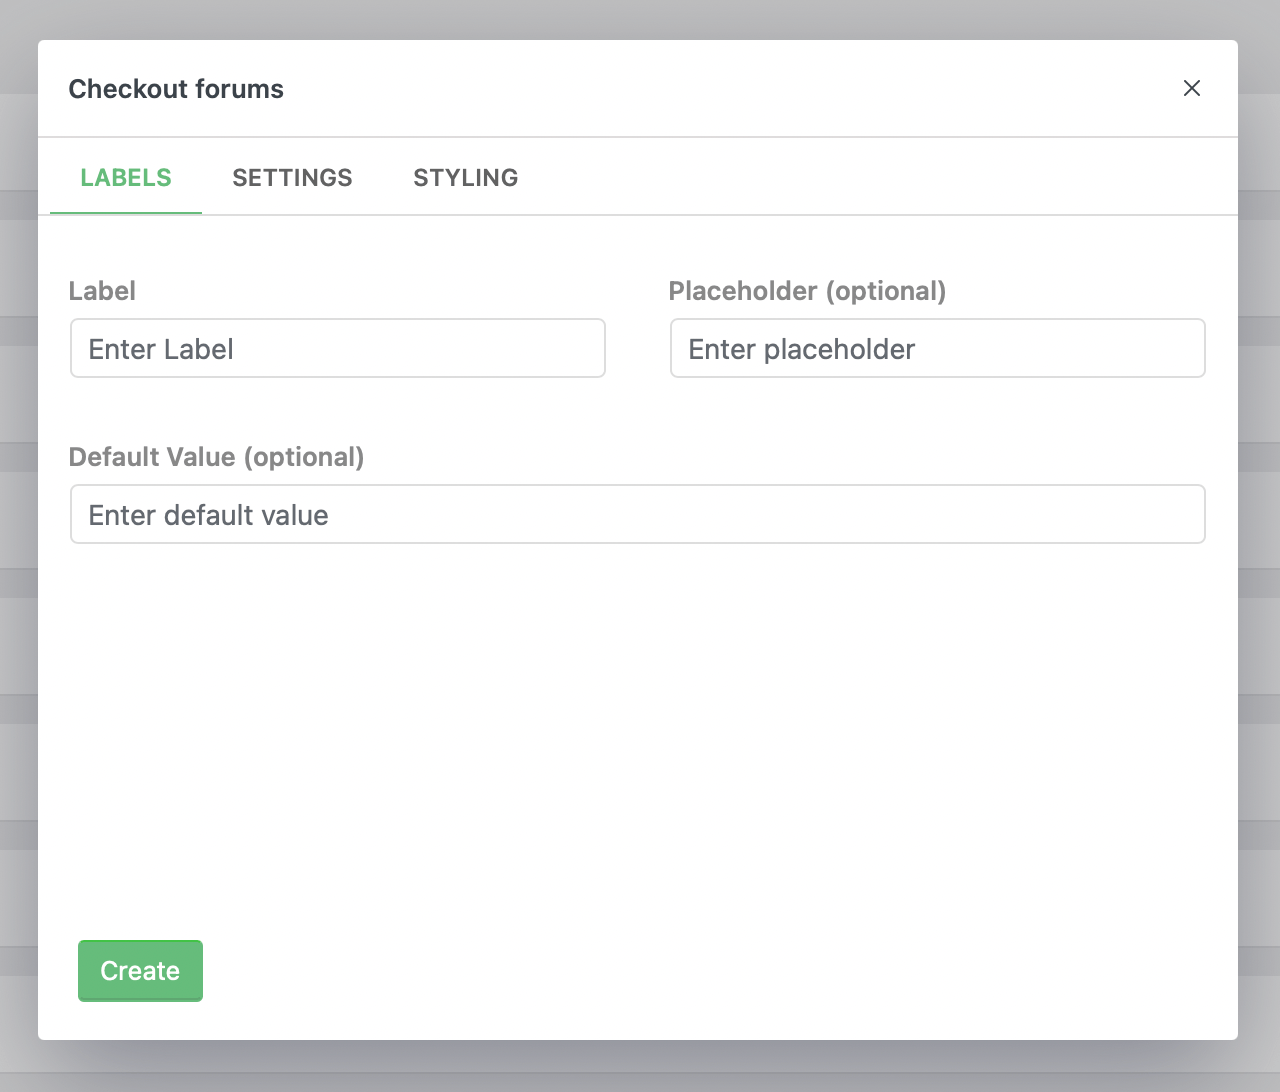
Place value on label, placeholder, default as your wish.
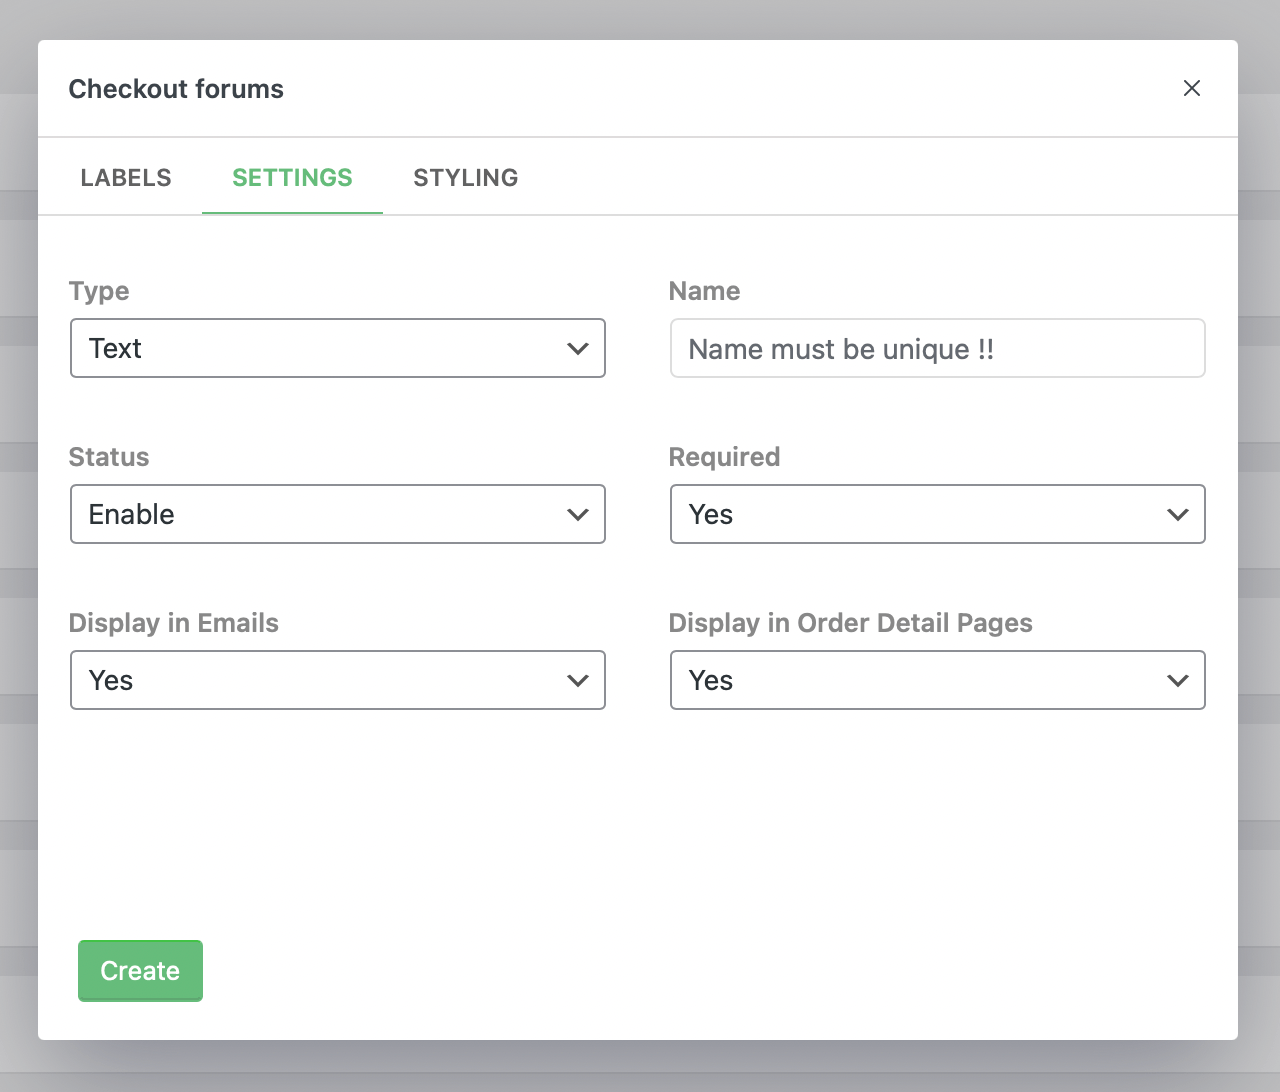
Then click on SETTINGS tab. You will see fields are changed.
Type : Select an input type which you want to display in checkout fields. If you choose select or radio type , then you see some changes like this
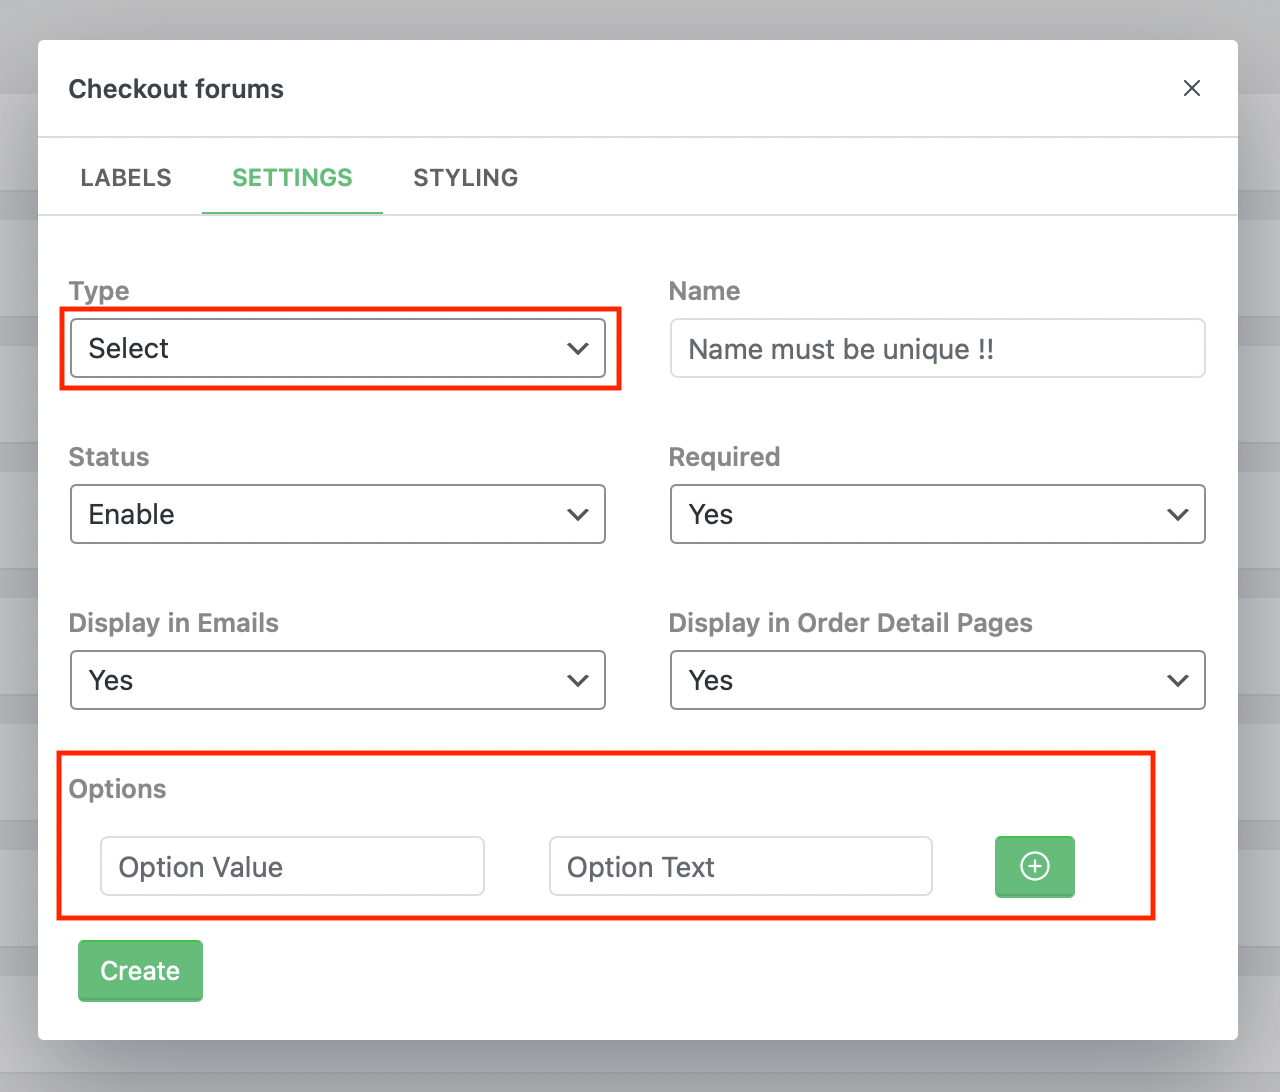
In Options, you can make options for dropdown. First input is Option Value, Generally, it's a hidden value and identifier of an option. just display in admin order detail. Another is Option Text, which will be seen as dropdown option.
You can add more options by clicking + button and scroll down, you will see two blank inputs like before.
Name : This value must be unique and it's an identifier of field. If it's not unique , then this field will not work properly .
Status : If this Enable, then field will be display. Else it's will be hidden.
Required : If this field required to checkout process !!
Display in Emails : If you select Yes, This field will be display in email as meta data. Here meta key will be field label and meta value will be user inputted value.
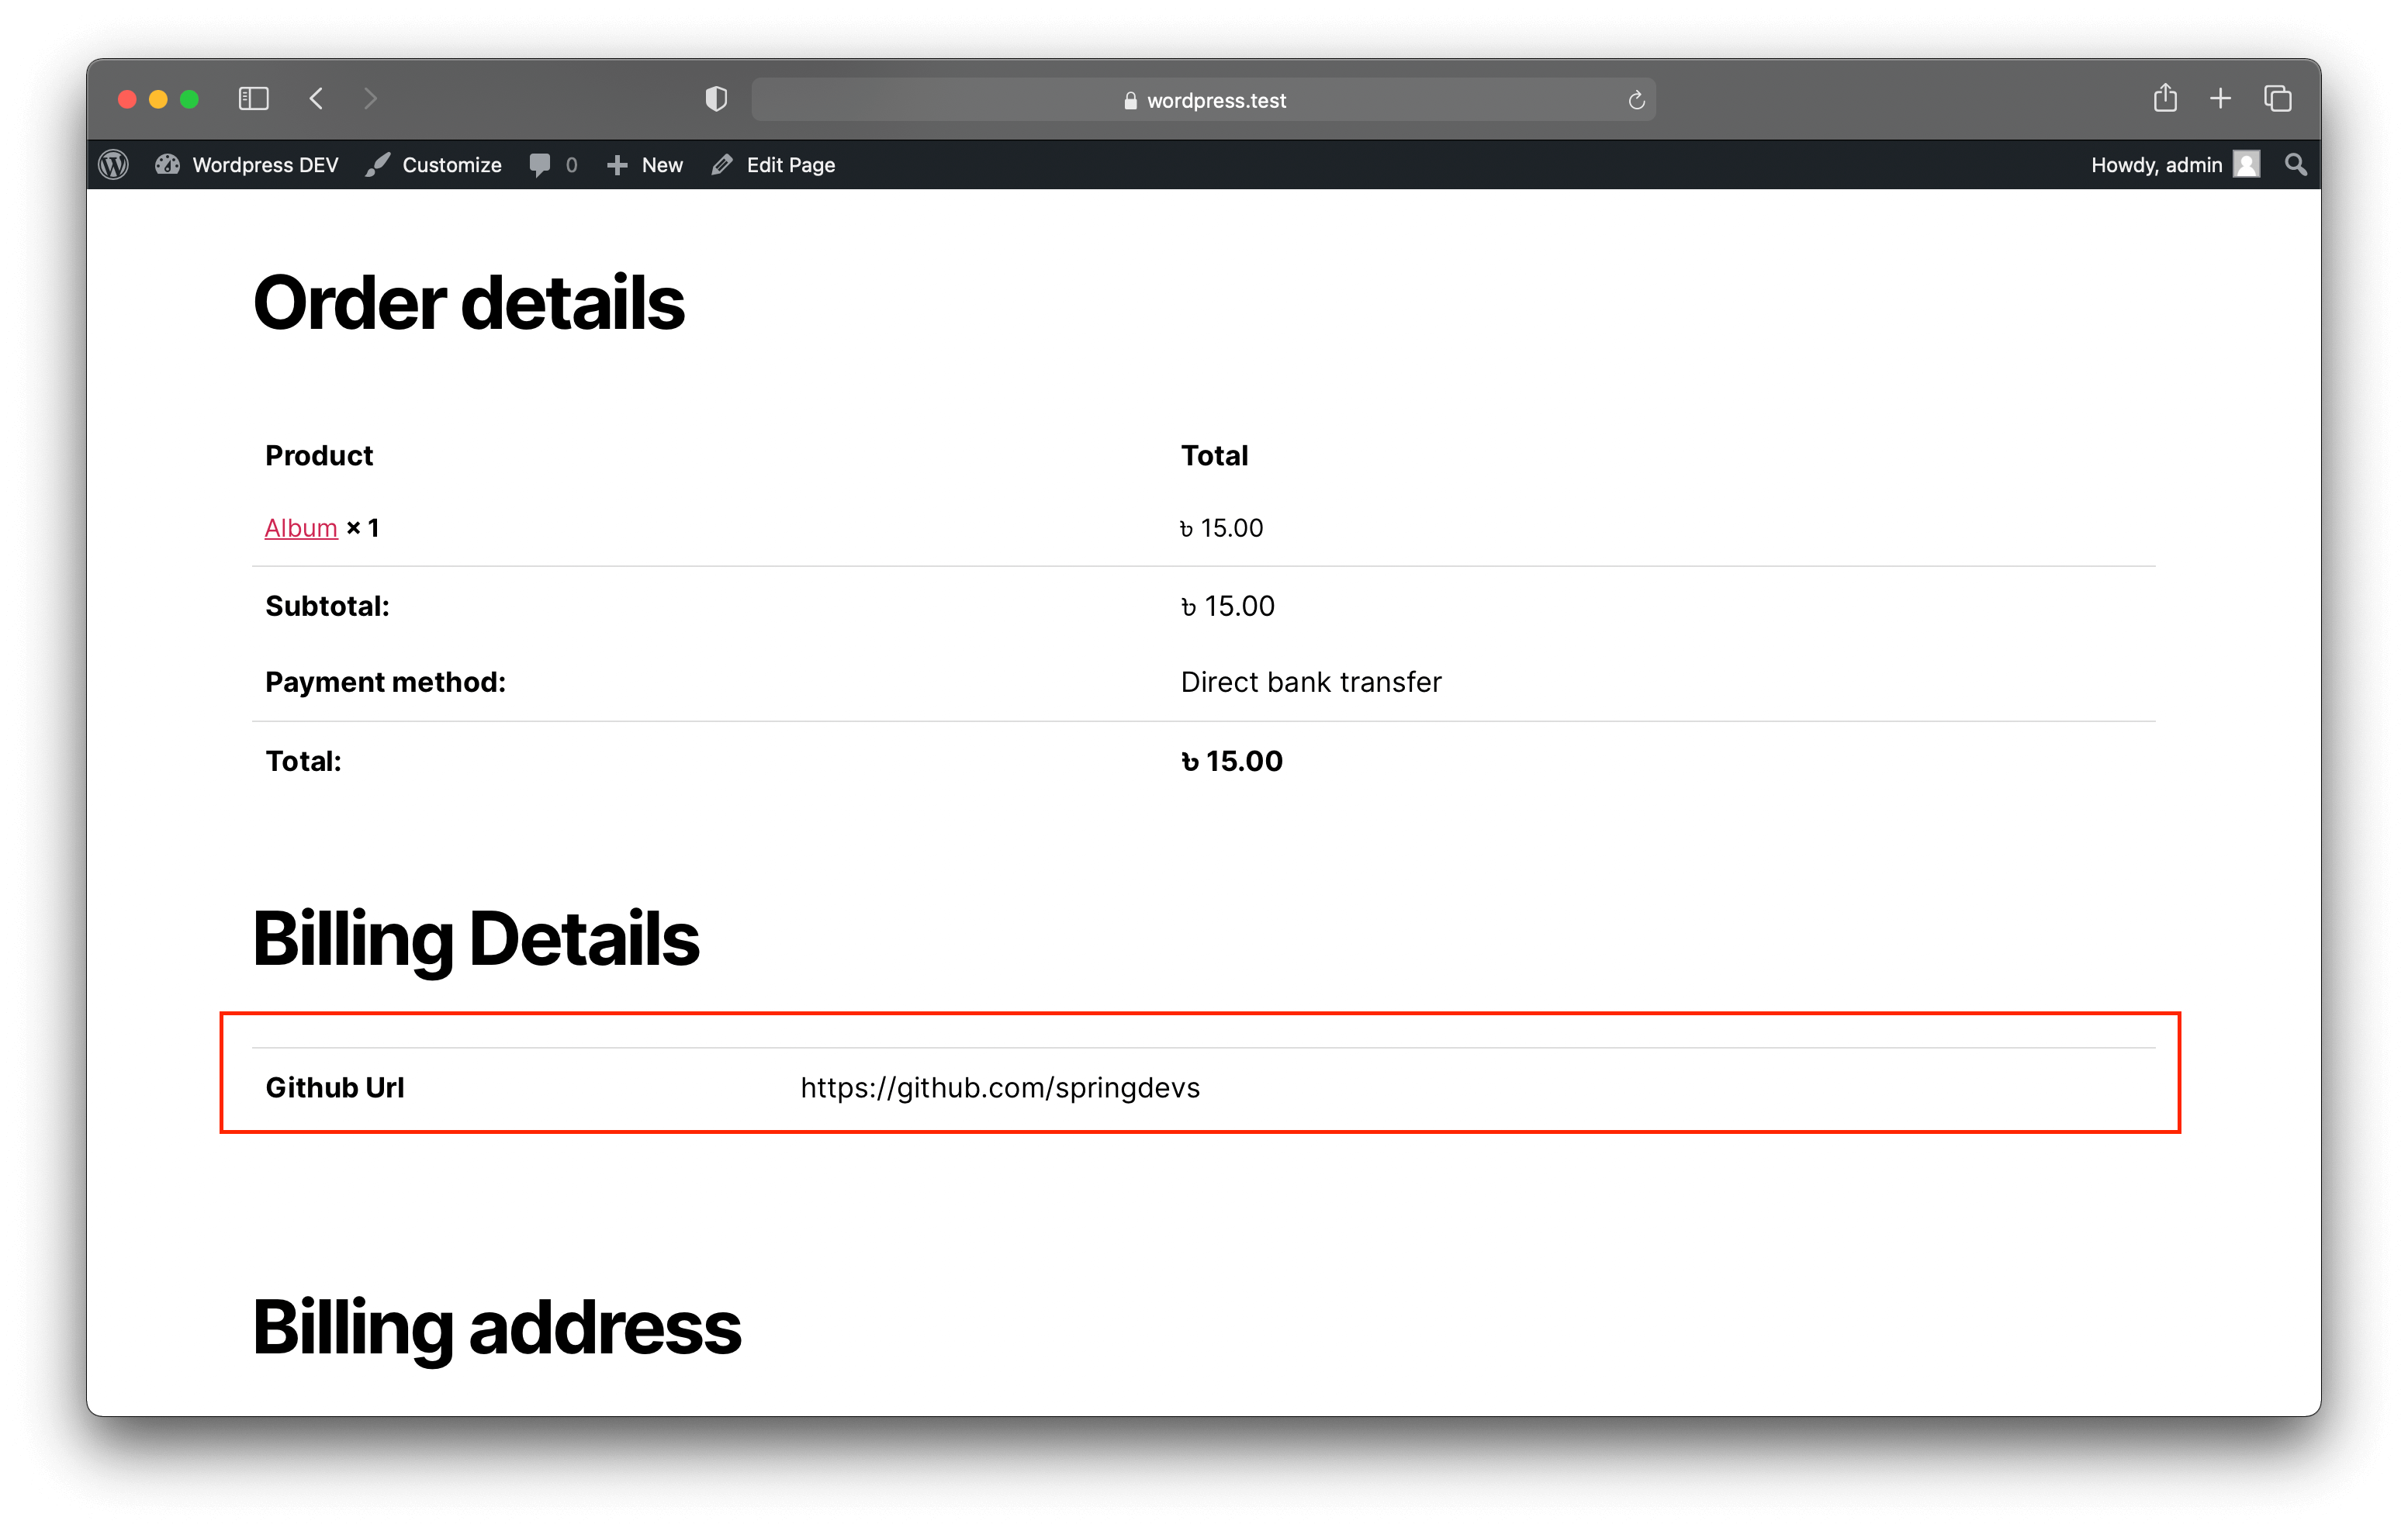
Display in Order Detail Pages : Display field label and user inputted value Like this
click on STYLING tab. You will see one field displaying called class
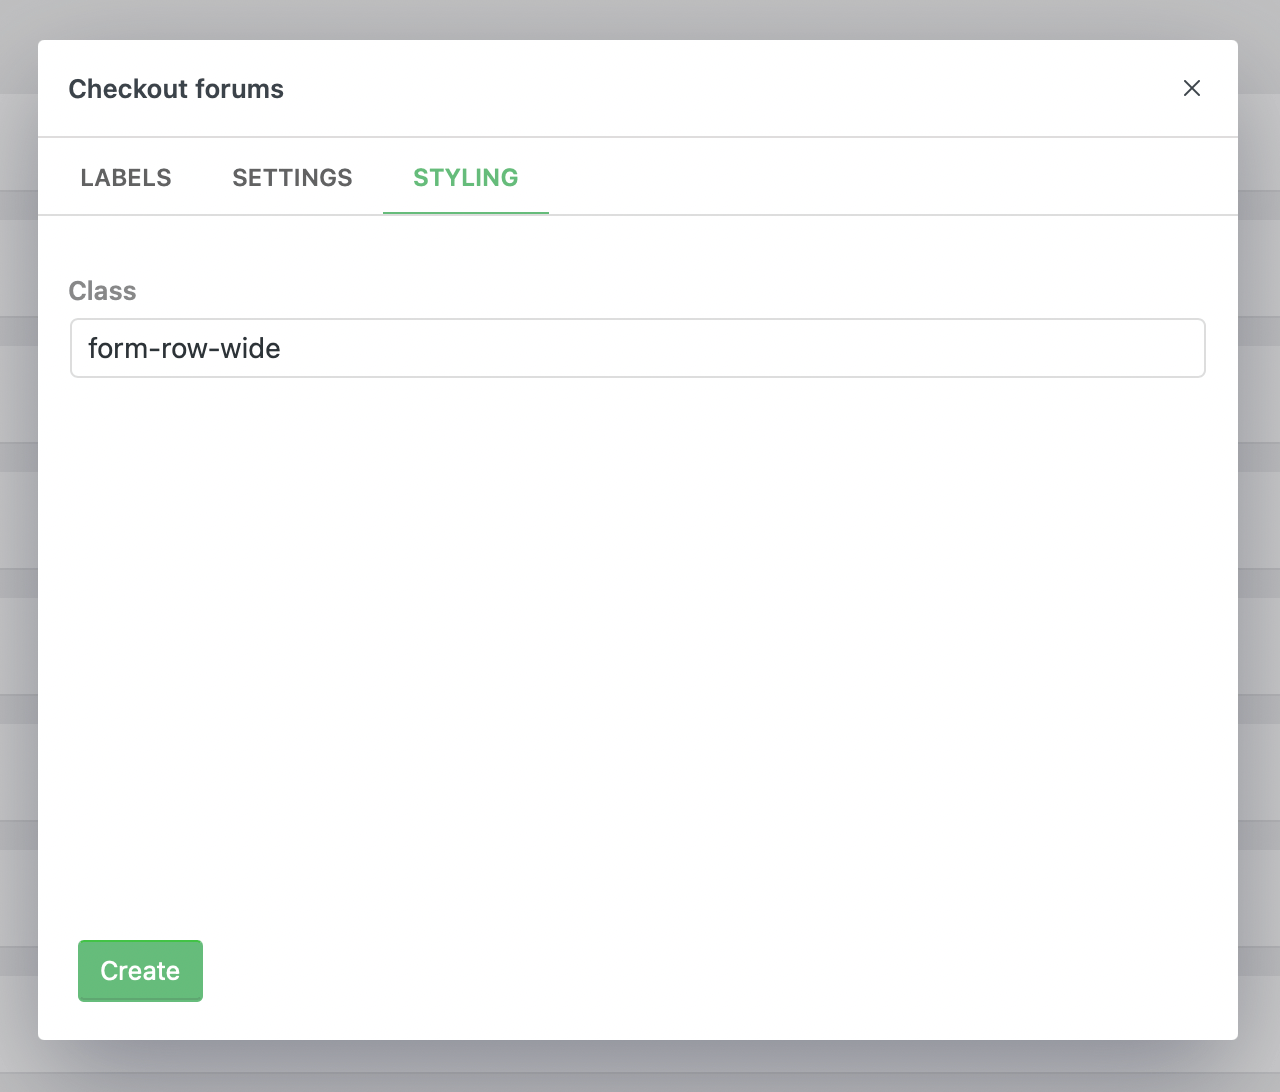
You can put custom class here. Must be use one space to put multiple classes.
If you want to display full width field , then use form-row-wide class.
If you want to display 2-fields in a column. You need to use these two class's :
form-row-first, form-row-last
Use form-row-first to display field left side and form-row-last to display field right side of column.
Don't use form-row-first, form-row-last class's in same field.